【PWN】ret2backdoor by Jmp.Cliff
你好,请加入Jmp.Cliff教
你好,请加入Jmp.Cliff教
记一下
还是CTF好玩
第n次想不起来挂载命令,我终于受不了了
时候到了,用一下Zotero
就这样悄悄地 悄悄地…
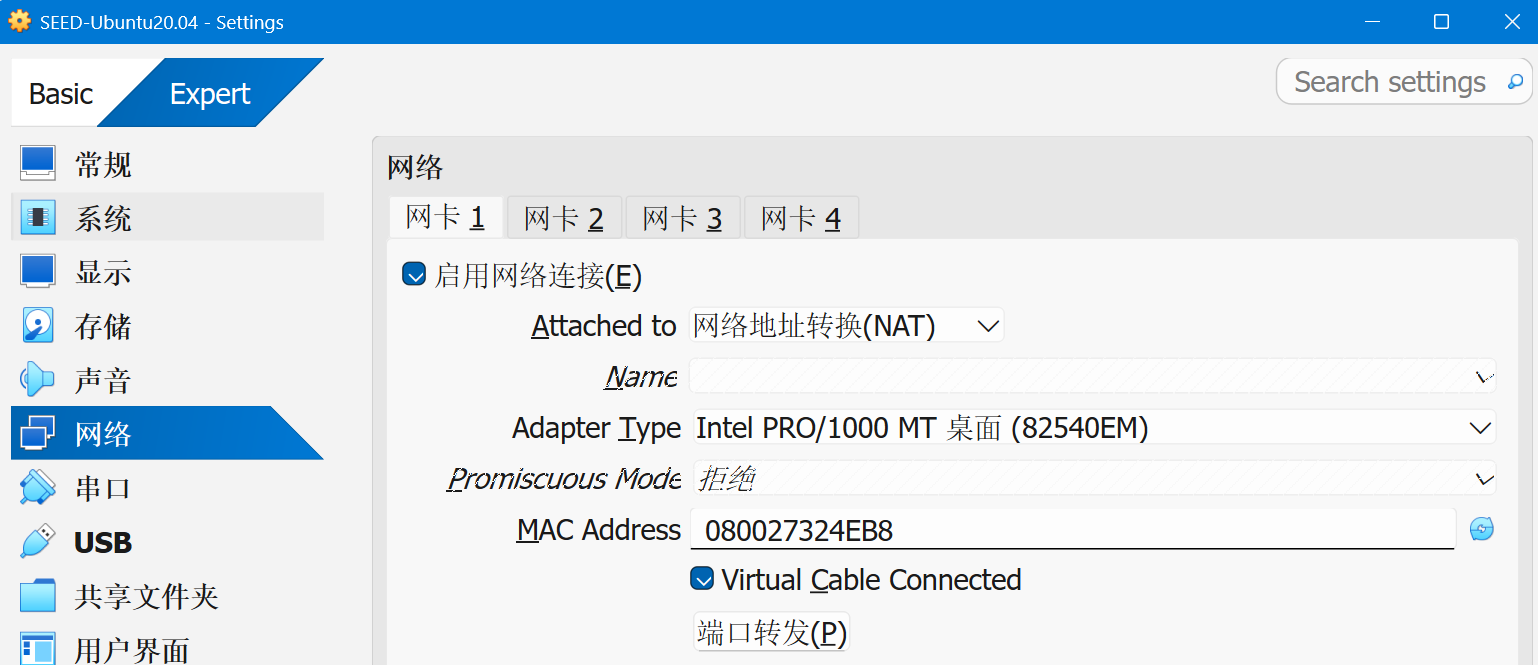
网络协议安全实验三,建立点对点IP隧道然后在隧道上使用IPSec
这个实验三跟揍了我两天一样,实验书是看不懂一点的,接口是总是放反的,IP和网关是永远忘记配的,问题根源是永远找不到的
但是可能是我最理解的一个,因为没法照搬书上的,果然书烂催人理解
web,真神奇啊…你说flag是怎么出来的呢
没用过virtualBox…记一下
教程:Install SEED VM on VirtualBox
再次吐槽csdn!又把我笔记搞丢了!
为了避免麻烦打算下一模一样的版本,6.1.16,但是没找到算了,下个最新版
这边笔记被csdn吃了
只能安装在C盘,试图换盘被狠狠制裁了放弃了…
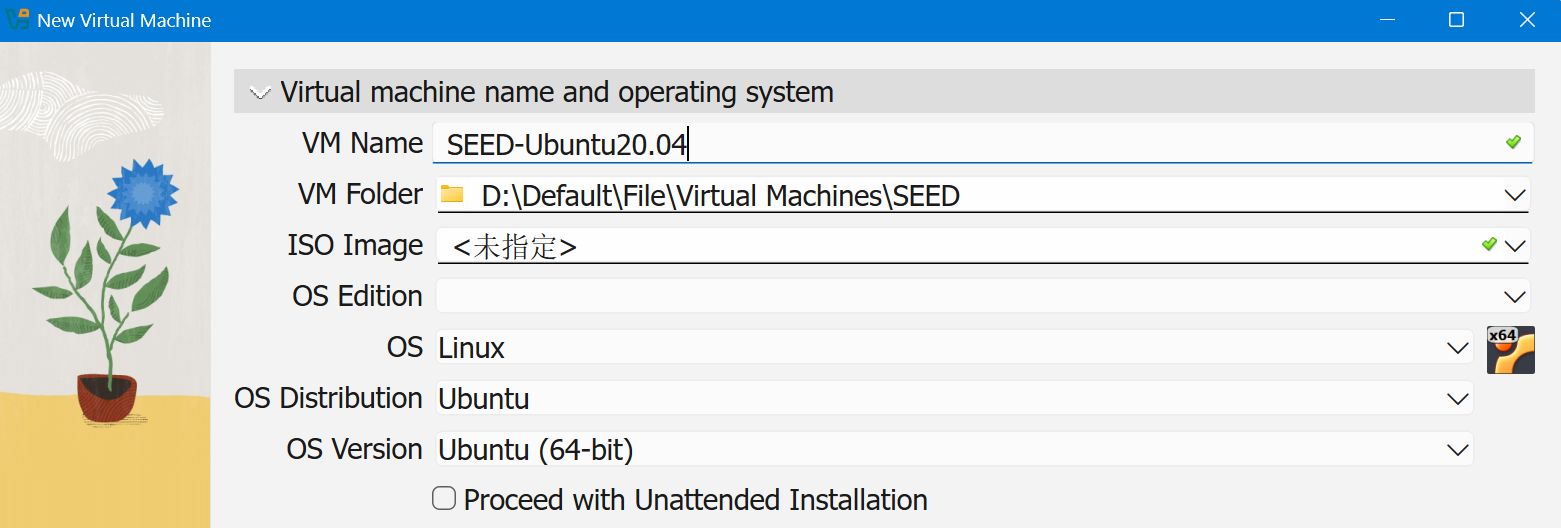
打开VirtualBox,点新建
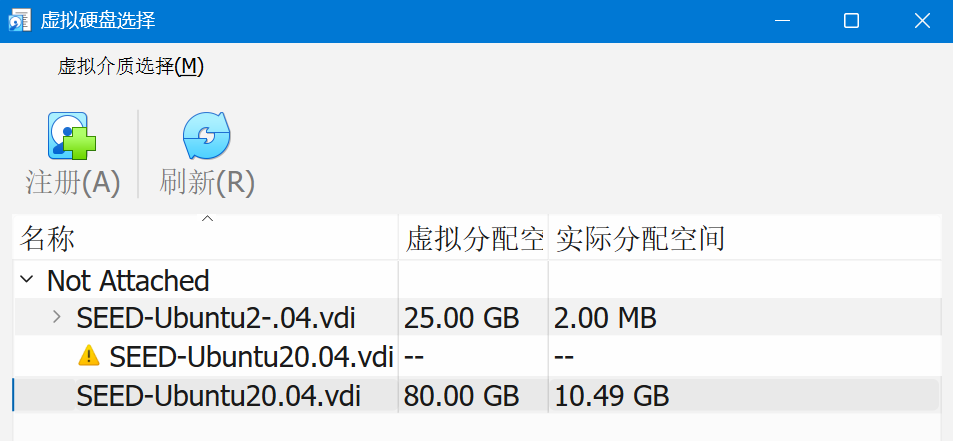
选择已有硬盘

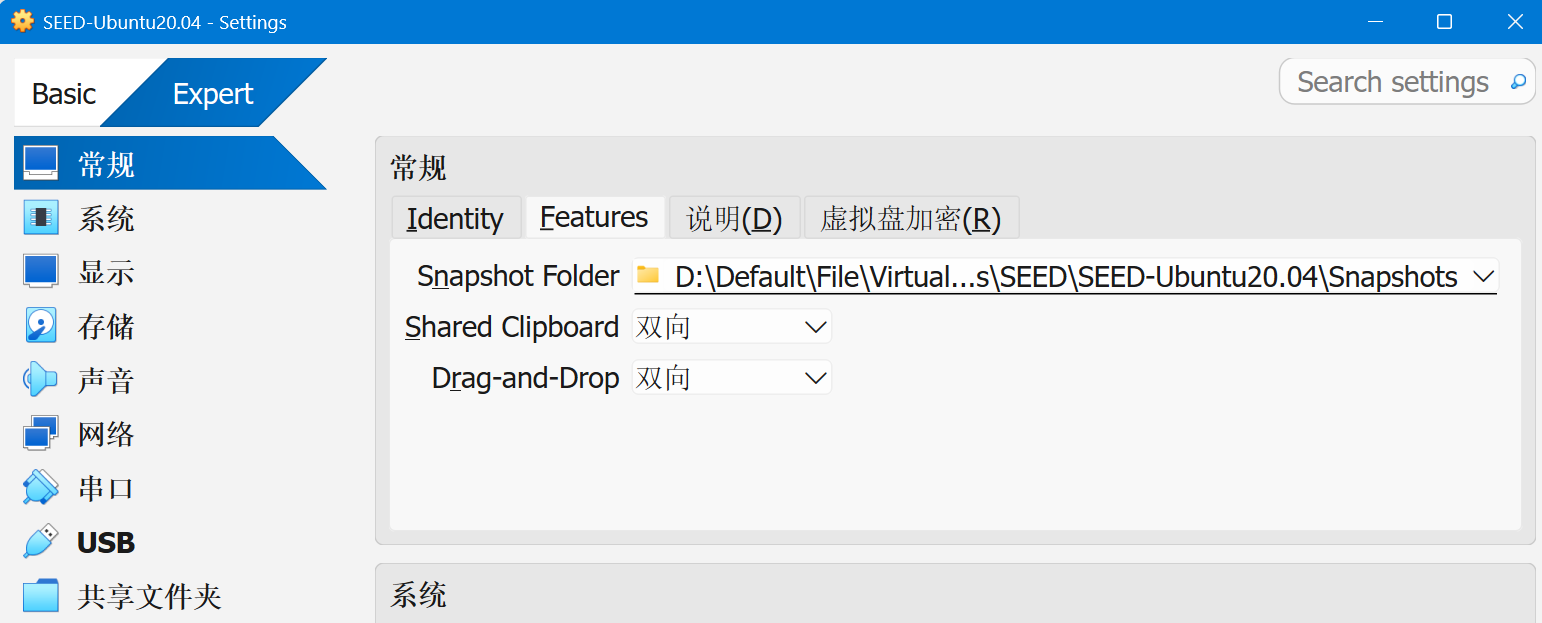
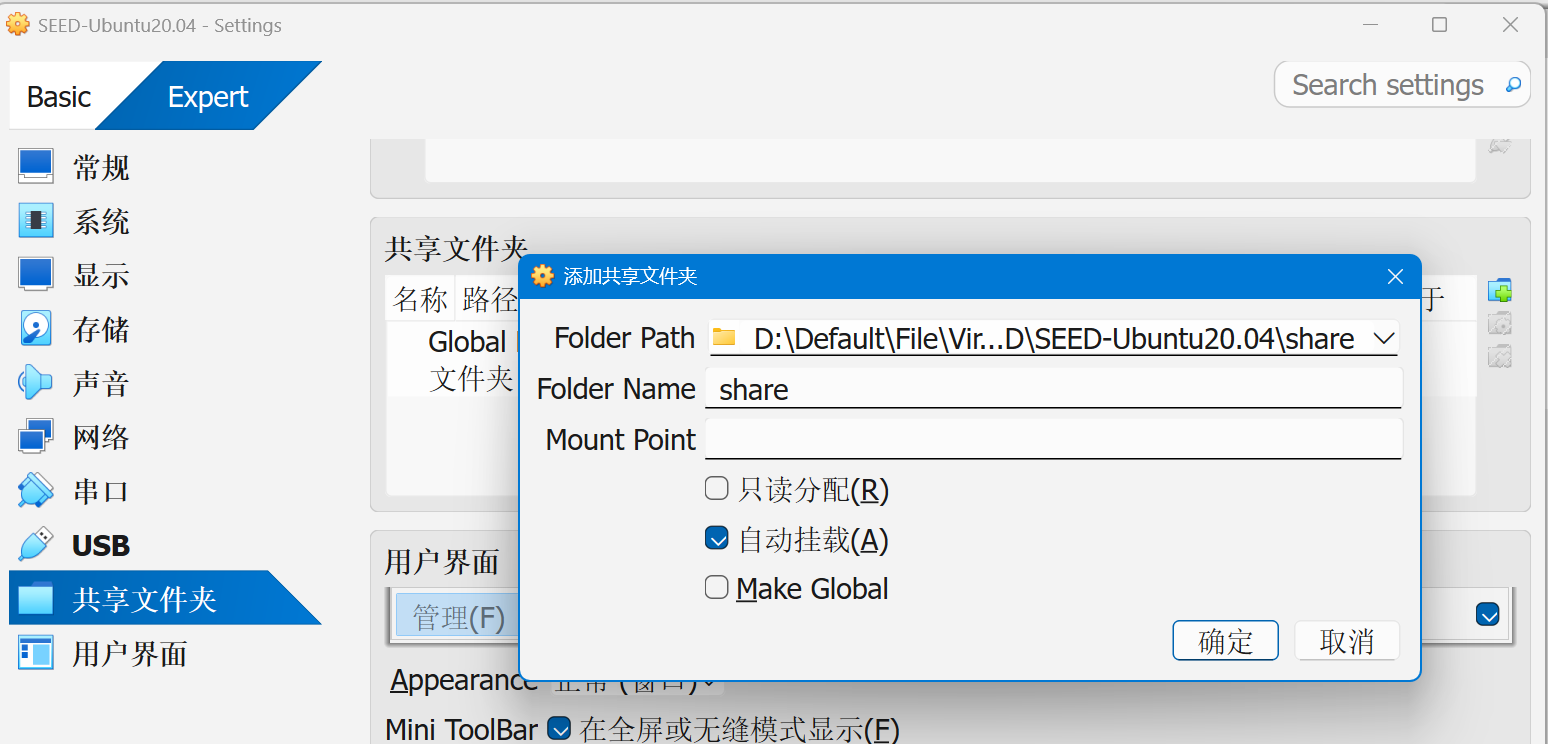
添加共享文件夹,选择自动挂载
后续步骤待会再说
Inside the VM, we need to mount the shared folder somewhere. Let’s mount it to the home directory as a folder
Share. We will create a folder calledSharein the home directory, and then mount the shared folderVM_Sharedto thisSharefolder using the following command. After that, you can access the shared folder from~/Share.
2
$ sudo mount -t vboxsf VM_Shared ~/Share
改成自己的共享文件夹名

On some latest version VirtualBox, the folder
VM_Shareddoesn’t mount on automatically after the VM is restarted even if we have selected the auto-mount option. To solve this issue, we can create an auto-mount script inside the/etc/profile.d/folder.
Inside the script file, add the mount command that we want to run when the system is initialized.
After the VM is started, during the login phase, all scripts under
/etc/profile.dfolder will be executed. This way, system automatically will mount the shared folderVM_Sharedto theSharefolder.
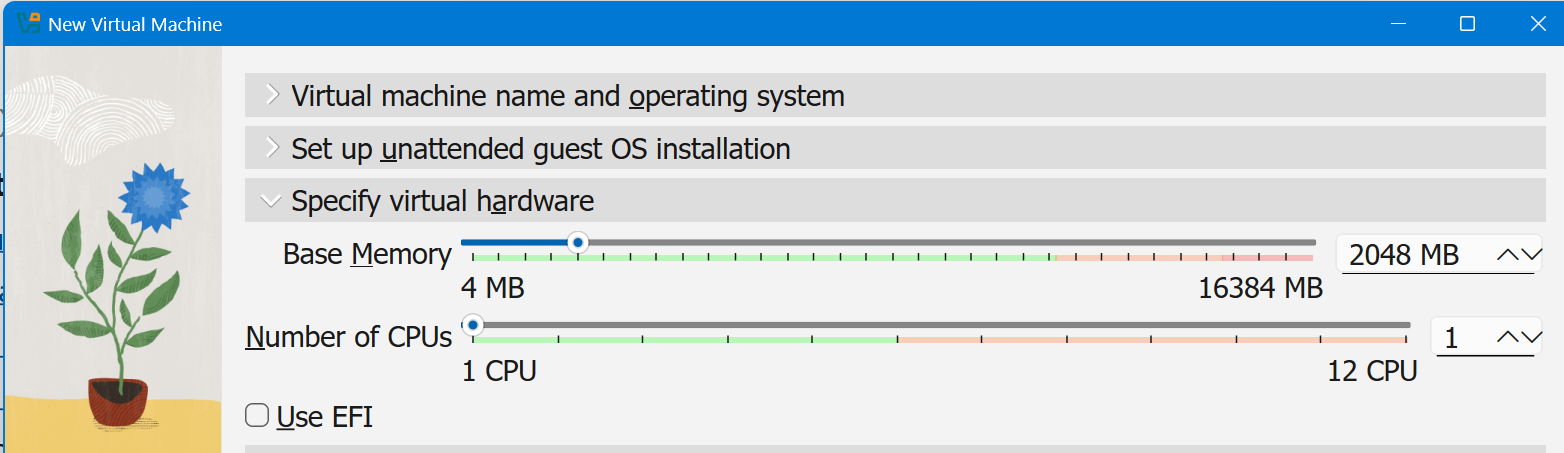
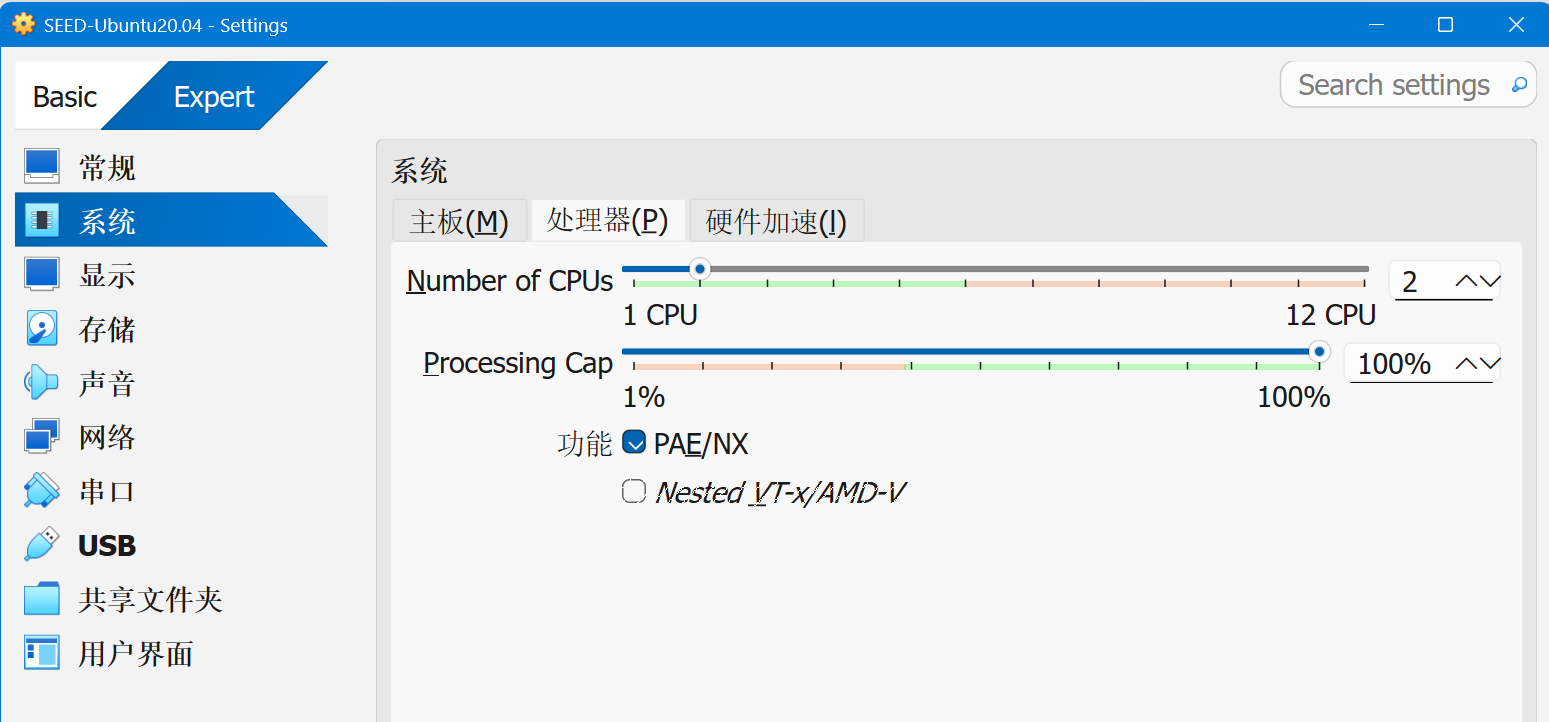
cpu两个,以及开启虚拟化。勾选不了是因为主机没开启嵌套虚拟化
参考:How to enable Virtualbox nested VTX/Amd-V on Windows 10/11 or Linux
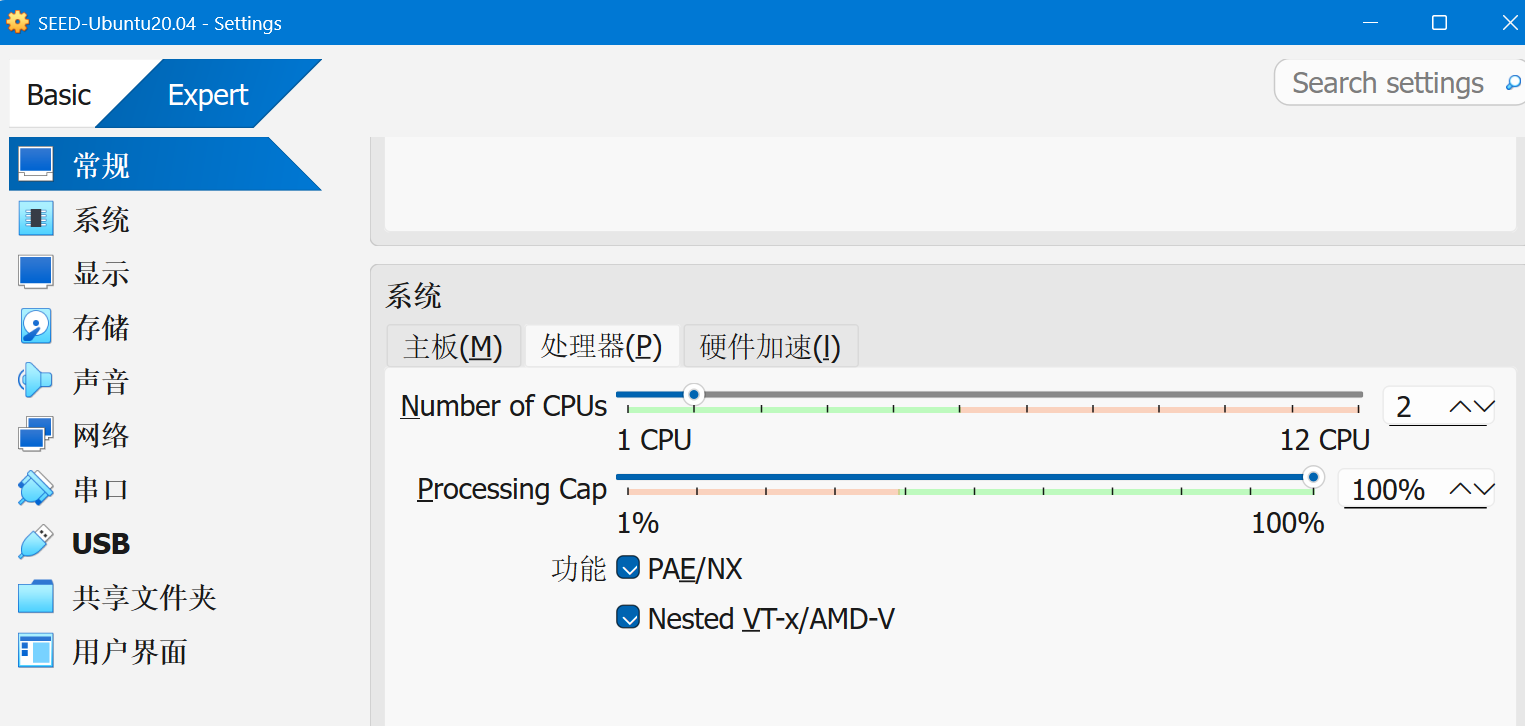
下面命令的虚拟机名字换成自己的
1 | cd C:\Program Files\Oracle\VirtualBox |
OK了
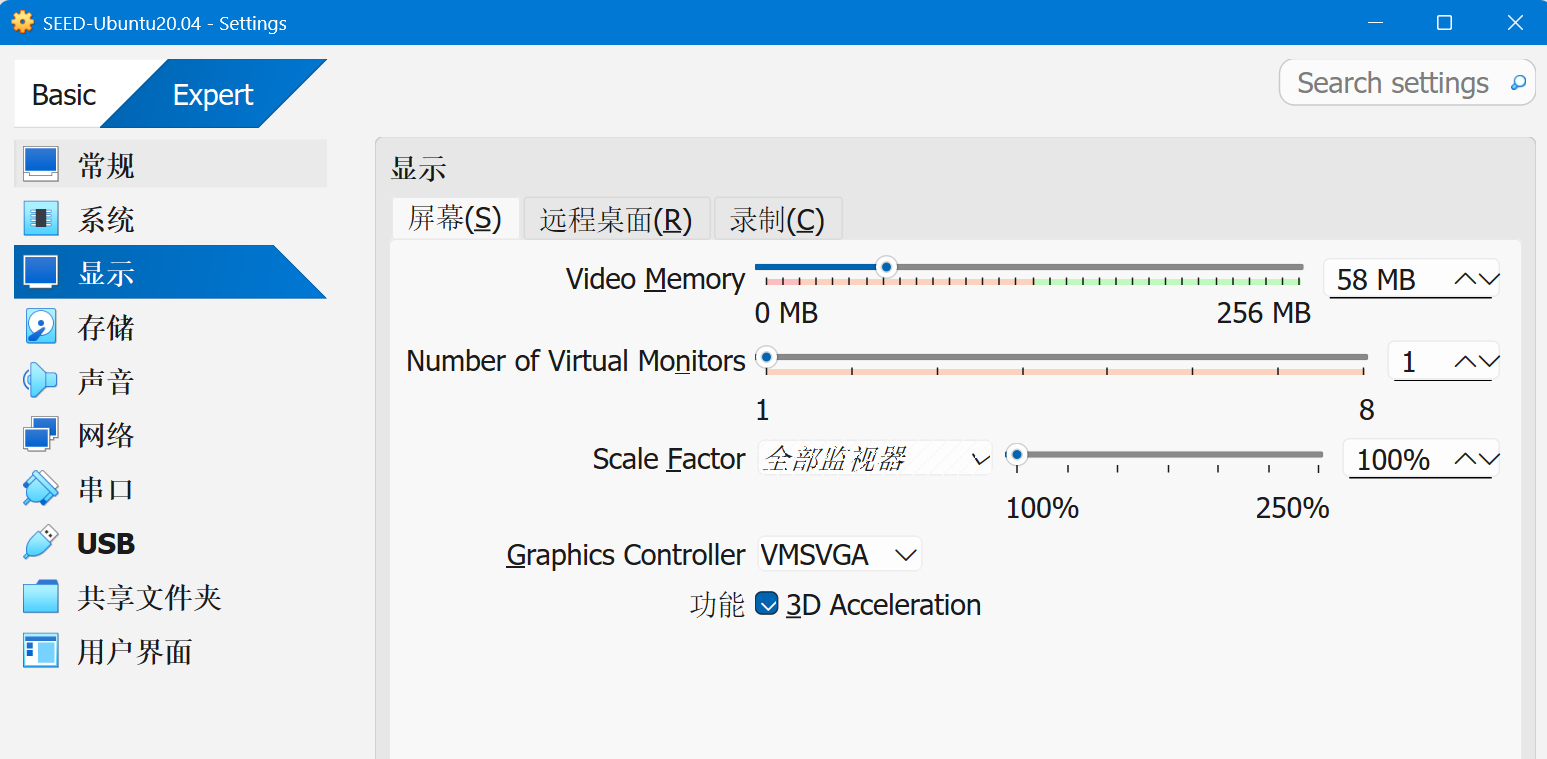
要用一样的graphics controller
seeddees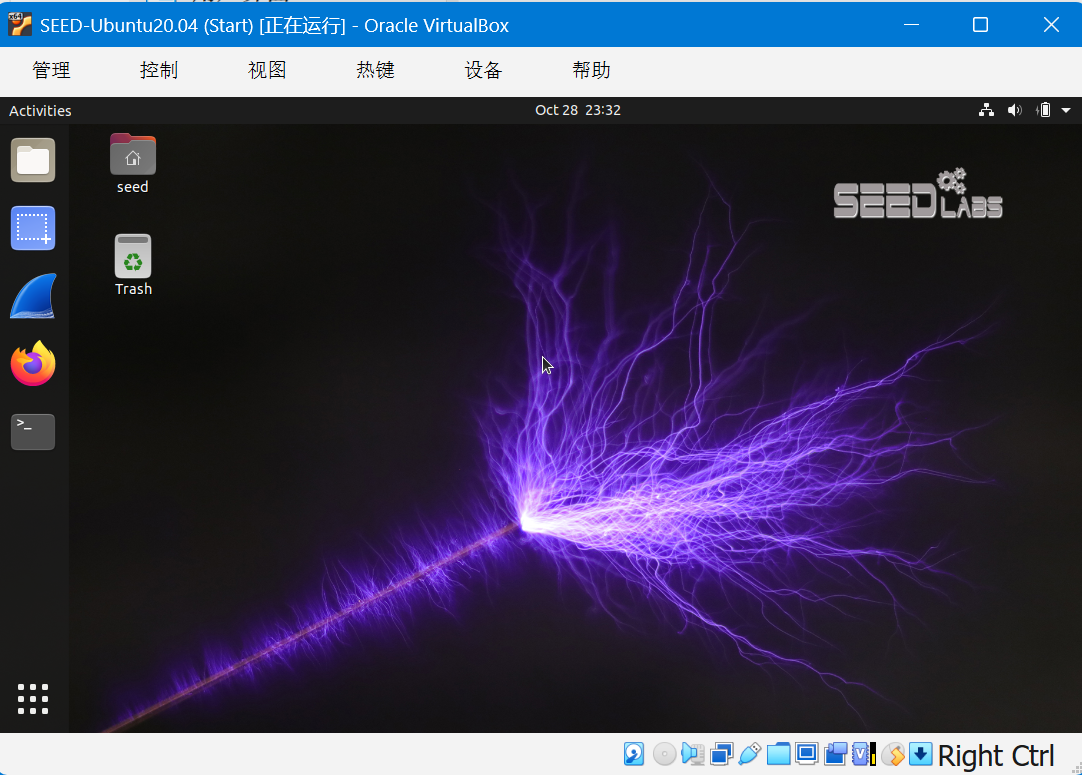
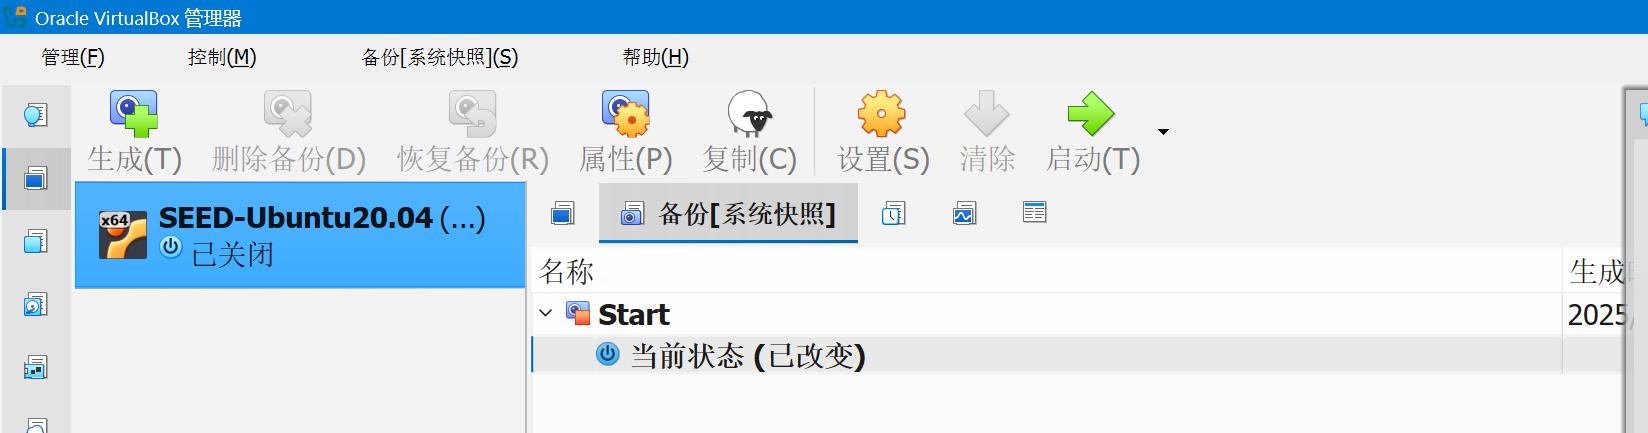
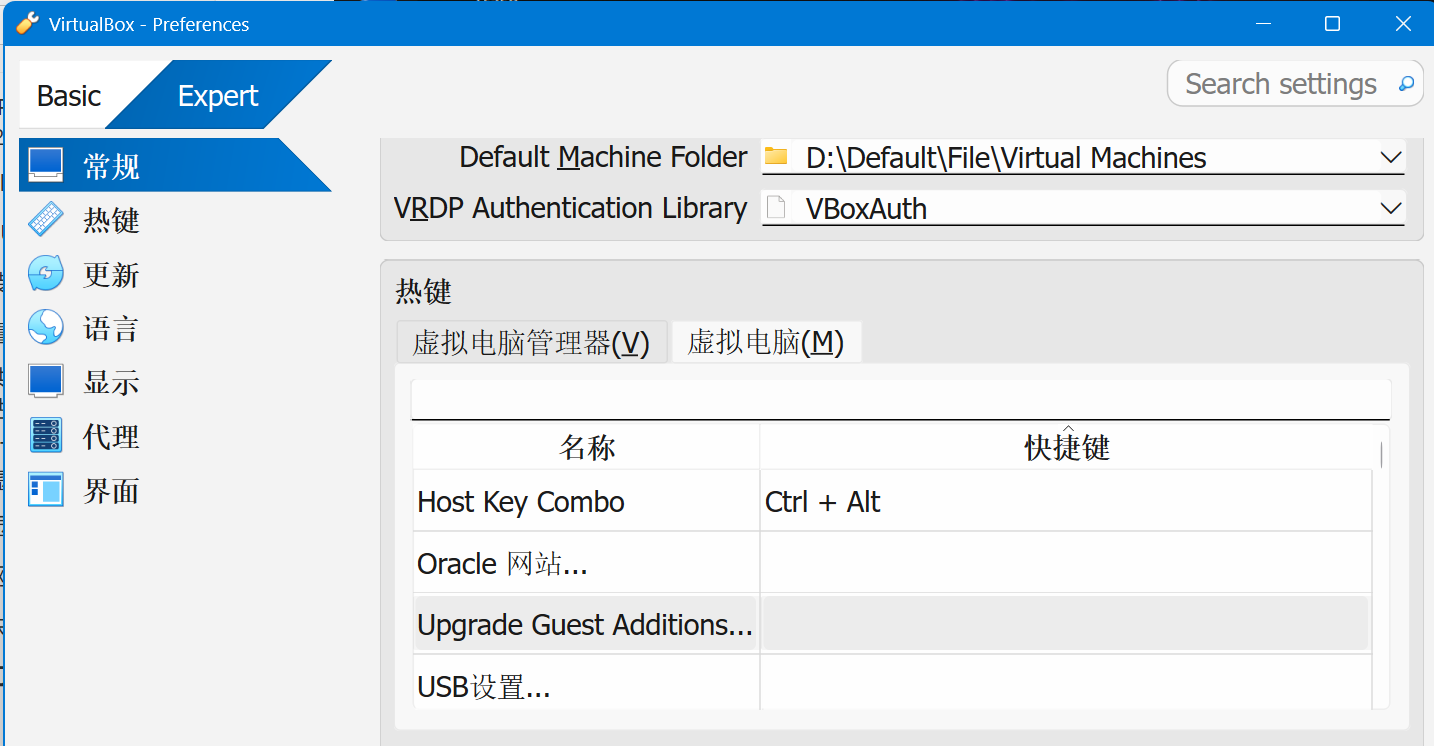
习惯了vmware…把切换键改成Ctrl+Alt
二编:这样一换Ctrl+Alt+T就不是唤起终端了变成备份了,我没招了,或许可以把备份快捷键改一下
1 | sudo apt update |
网络协议安全实验二,使用VLAN防范MAC欺骗
题目链接:BUUCTF [第五章 CTF之RE章]BabyAlgorithm
太久不做题脑袋空空了…